1) Log in
Log in to the Console at https://console.shortcutssoftware.com/ and click on Company Settings.
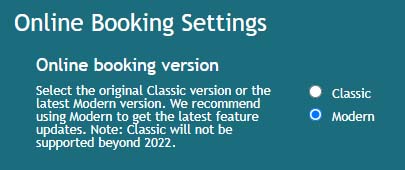
2) Set version to ‘Modern’
Scroll down to Online Booking Settings, and set the Online booking version to ‘Modern’.

3) Set your highlight color
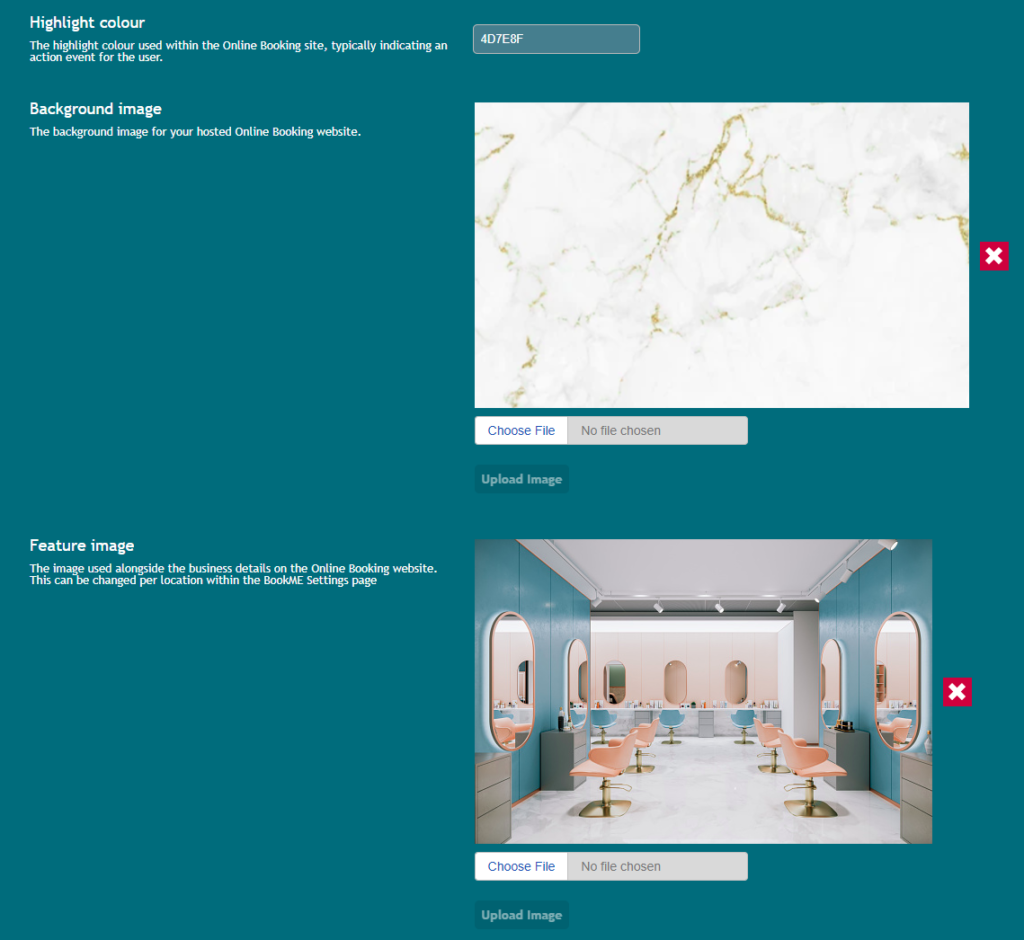
Set your highlight colour by typing the HEX code into the Highlight Colour field or choose from the palette. The default colour is #2196F3.
4) OPTIONAL Upload a background image
In the background image section, click Choose File > locate the file on your computer > click Upload Image.
5) OPTIONAL Upload a feature image
In the feature image section, click Choose File > locate the file on your computer > click Upload Image.

6) OPTIONAL Add important information text
Add any important information text that you want your clients to know each time they book. This will appear at the beginning of each booking. They’re different to the Terms and Conditions, and could be anything from health and safety information, to how you prefer your client’s book with you, staffing changes or promotions.
7) RECOMMENDED Latest booking allowed
Now that more availabilities are display with our improved calendar display, we recommend you change your ‘latest booking allowed’ option in console to 60 or 90 days as a maximum to optimise performance.
Console > Online booking settings > latest booking allowed > Save
8) RECOMMENDED Set up skin patch test alerts
Make sure to set up your skin patch test alerts for any services requiring visit notes.
Console > Online booking settings > Skin patch test alerts > Choose the amount of months
9) Save changes
Click the green Save at the top right of the screen. This will immediately update your website.
For multi-location businesses, please continue below.
10) Open Online Booking Settings tile
At the top of the page on the left, click the blue Start link and then click on the Online Booking Settings tile. If you have multiple locations, do the below steps for each location.
11) Customise text for individual locations – (for multi-location businesses only)
Scroll down to the Online Booking Global Page Content section. Use these fields to customize any text for individual locations, otherwise the text you provided in the Company Settings will apply to all locations.
12) Save changes
Click the green Save at the top right to save all your changes. Your changes will be reflected immediately in your new Online Booking website, unless you use the Classic Booking Widgets or APIs.


